

Best Lighting Tips for Dating Photos
Your dating profile photo has just 100 milliseconds to make an impression. Want more matches? It’s all about lighting. Here’s how to make your photos stand out:
- Golden Hour is Key: Take photos during the soft light just after sunrise or before sunset for a warm, flattering glow.
- Avoid Harsh Midday Sun: Midday light creates unflattering shadows. Use shade or take photos in the morning or late afternoon instead.
- Use a Ring Light Indoors: For even, soft lighting that highlights your features, a ring light is a simple, effective option.
- Experiment with Angles: Adjust light positions to emphasize your best features. A 45° angle often works well.
- Try AI Tools: Use tools like Dating Photo AI to optimize lighting and enhance your photos effortlessly.
Quick Tip: Profiles with clear, well-lit photos get up to 60% more matches. Whether you prefer natural sunlight or artificial setups, good lighting is the easiest way to make your photos shine.
1 Light - 4 Easy Portrait Setups in 10 minutes!
1. Use Natural Light During Golden Hour
Golden hour is a favorite trick among photographers. This brief window of time - just after sunrise and just before sunset - offers sunlight that passes through more of the Earth's atmosphere, scattering cooler blue tones and revealing stunningly warm hues [1].
"Golden Hour is more than a photographer's buzzword - it's backed by science." [1] - Shannon Kathleen Photography
Why Golden Hour Works Wonders
Golden hour light works magic on your dating photos by bathing them in warm, golden tones that naturally enhance your skin's glow [4]. With the sun low in the sky, the light becomes soft and even, creating gentle shadows that flatter your features [3]. This kind of lighting not only adds depth and dimension but also helps your profile photos stand out, even in tiny thumbnails - a must for dating apps.
How to Make the Most of It
The best part? You don’t need fancy gear to take advantage of golden hour. Just step outside and experiment with different setups. Try front-lighting for a bright, natural look or backlighting for a dreamy, rim-lit effect. Keep in mind that golden hour timing changes with the seasons - it’s earlier in winter and later in summer [1]. Position yourself carefully: when the sun is higher, keep it behind you for an evenly lit shot. As it dips closer to the horizon, backlighting can create a romantic glow [2].
The Power of Authenticity
Golden hour light gives your photos a natural, inviting vibe that feels genuine and effortless - perfect for dating profiles. Its soft warmth avoids the harshness of midday sun, so you won’t have to worry about squinting or awkward expressions.
"If you want images that don't feel forced, overly edited, or harsh, this is the light for you - especially for dating photos, where connection and authenticity matter most." [1] - Shannon Kathleen Photography
This light not only highlights your best features but also brings a cinematic charm to your photos. It’s a simple, effective way to create a profile that feels approachable and full of personality.
2. Skip Harsh Midday Sun
Taking photos during your lunch break might seem convenient, but the midday sun can be a real challenge. The bright light between 10 AM and 4 PM often leads to squinting and casts unflattering shadows - hardly the look you're going for.
Why Midday Lighting Can Be Tricky
When the sun is directly overhead, it creates what photographers call "top lighting." This lighting casts deep shadows under your eyes, nose, and chin, which can make your features look harsh and less defined [6].
"Midday, the hours between 10 and 4 (or 9 to 5 during the long, summer days), is the time when the sun is directly overhead, providing bright (and often harsh) lighting conditions. This type of lighting is not ideal for most portrait photography, as it produces harsh shadows, washed-out colors, and squinting." - Kimberly Cauble [5]
This type of lighting not only affects how you look but can also make you appear tense or uncomfortable - definitely not the relaxed and confident vibe you're aiming to convey.
Simple Fixes for Better Lighting
The solution? Shift your photo sessions to either early morning or late afternoon when the sun is lower in the sky. These times provide softer, more flattering light. If you can’t avoid shooting during midday, find some natural shade. Look for cover under trees, building overhangs, or even the shadow of a wall. These spots filter the sunlight, giving you a softer and more even glow [5].
If shade isn’t an option, try positioning yourself so the sun is directly behind you. This creates a gentle shadow on your face, reducing the harsh effects of direct sunlight [7].
The Importance of Natural, Approachable Photos
Photos with soft, even lighting not only look better but also feel more inviting - an essential quality for dating profiles. Harsh midday light can make images appear overly dramatic, while softer light enhances your features and makes you look more approachable.
"You do not want harsh sunlight on your subject. You definitely do not want overhead sunlight. Morning or afternoon or shade are better options." - Rob Dee, Former Pro Photographer [8]
The goal is simple: capture a photo that highlights your natural charm and personality, making your profile stand out in the best way possible.
3. Get a Ring Light for Indoor Photos
When natural light isn't an option, a ring light can be your best friend for snapping professional-looking indoor dating photos. These circular lights are popular for a reason - they deliver polished results without requiring any photography expertise.
Lighting Quality and Flattering Results
Ring lights provide even, soft illumination that smooths out harsh shadows and minimizes imperfections. Unlike standard lamps or overhead lighting, they evenly distribute light across your face, creating a natural and appealing look. They also add those eye-catching circular highlights to your eyes, giving them a vibrant sparkle that can help create a stronger connection with anyone viewing your photos. Even though they're artificial, ring lights do a great job of mimicking natural daylight, so your skin tones appear true-to-life instead of washed out or distorted by indoor lighting [11].
Simple and Effective Setup
Ring lights aren't just about quality - they're also incredibly easy to use. Most models start at around $100, and LED versions can last up to 50,000 hours [10] [11].
"A ring light is one of the most easy-to-use lighting options on the market." - Lume Cube [12]
Getting started is simple: position the ring light about an arm's length away, slightly above eye level, and angle it downward [9]. Place your camera or phone in the center of the ring, and you're good to go. To make the most of it, tweak the brightness and color temperature to suit your environment. Warmer tones (3000K-4500K) work well for a cozy vibe, while cooler tones (4500K-5500K) create a crisp, daylight-like effect [9].
sbb-itb-06ba92c
4. Try Different Angles and Light Positions
Once you've mastered golden hour and ring light techniques, it's time to explore how different light angles can elevate your photos even further. The way light interacts with your face - its position, direction, and intensity - can completely transform your look. Even small adjustments to light placement can turn an ordinary shot into something that truly stands out.
Lighting Quality and Its Impact on Your Look
The angle of your light source plays a huge role in shaping how you're perceived in photos. Studies suggest that a 45° angle often works best to enhance facial features without exaggerating or distorting them [16] [17].
"Our eye's perception of features is very much dependent on where the highlights and shadows most often lay on the face..." – Zach Sutton [13]
To achieve this, position your light slightly above your eye level and at a 45° angle from your face. This setup creates flattering highlights, emphasizes your eyes, and casts a soft shadow along your jawline for a well-balanced look [14]. Whether you're working with natural light near a window or using a ring light, this approach is versatile and effective.
Front lighting is great for reducing shadows and highlighting details, while side lighting adds depth and emphasizes contours like cheekbones and jawlines [15]. Avoid placing light below your face - it creates harsh, unnatural shadows that our eyes aren't used to seeing [13].
Easy Ways to Experiment with Light
You don't need fancy gear or technical expertise to play around with light angles. Start by positioning yourself near a window and moving around to see how the light falls on your face. Snap test shots from different angles - left, right, or straight on - and notice how each setup affects your features.
For artificial lighting, tweak the height and angle of your light source. Even slight adjustments can make a big difference. For example, try "butterfly lighting" by placing your light directly in front of you, slightly above eye level, and angled downward. This creates a soft shadow under your nose and subtly defines your cheekbones [18].
Keeping It Natural
If you're aiming for a natural and familiar look, "loop lighting" is a great choice. This setup mimics how faces are typically lit in everyday situations, making it feel authentic and approachable [18]. To achieve it, position your light just off to the side rather than directly in front of you.
Interestingly, research suggests that the left side of the face often conveys more emotion and is considered more visually appealing [16]. Try experimenting with photos that highlight your left side - tilting your head slightly or raising the camera above eye level can add more dimension and charm [16].
The goal is to replicate light patterns that feel natural and inviting. This way, your photos will look genuine and effortlessly appealing, steering clear of anything that feels overly staged or artificial.
5. Use Dating Photo AI for Professional Results
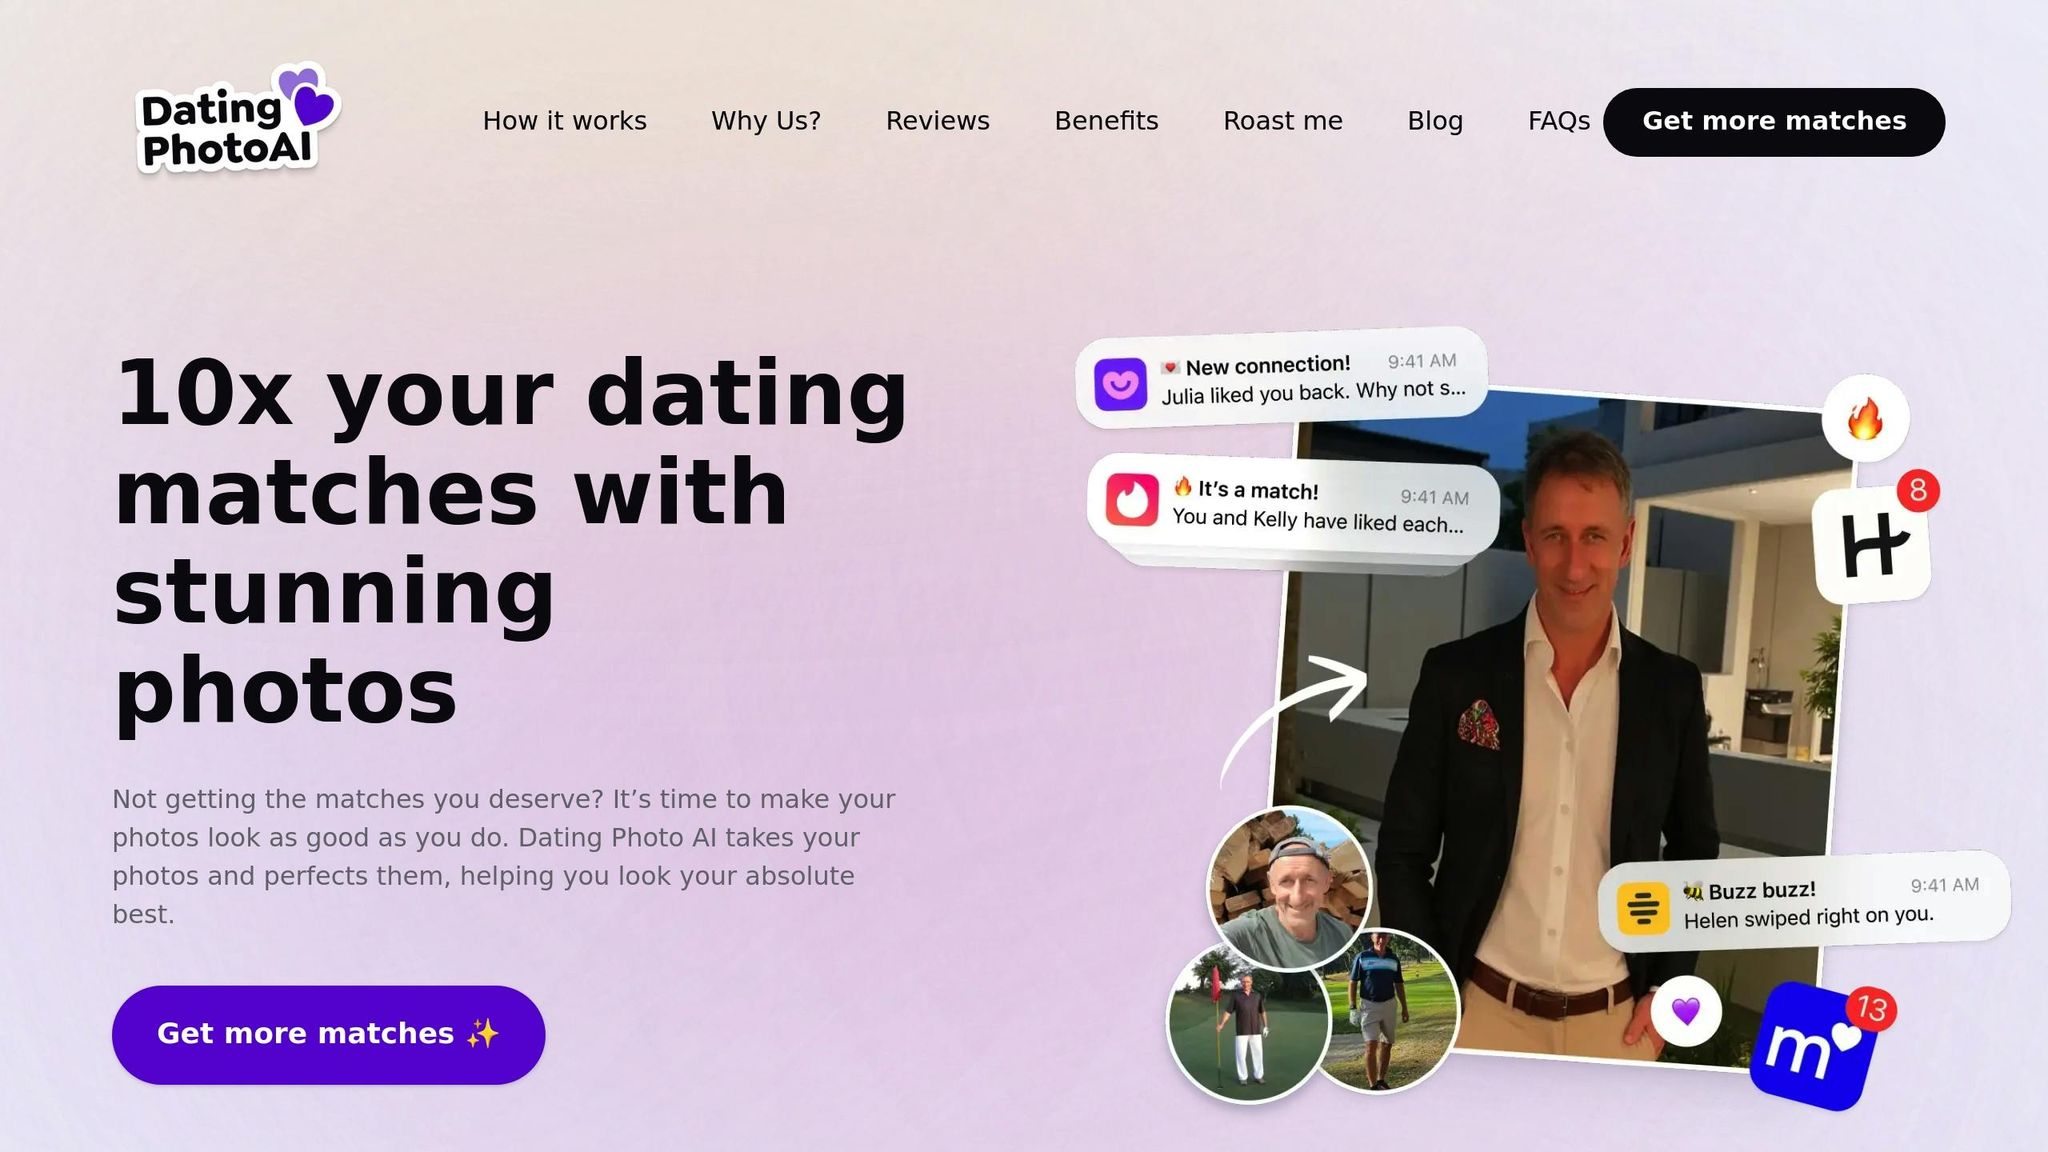
Even with solid lighting techniques, sometimes you need a little extra help to make your dating profile photos pop. That’s where Dating Photo AI steps in. This tool automatically tweaks the lighting in your photos to ensure your best features shine through.
Lighting Quality and Its Impact on Your Photos
While manual adjustments can improve your photos, Dating Photo AI takes it a step further with advanced algorithms designed to perfect every detail. It optimizes exposure, contrast, and color balance, all while enhancing your natural features [21]. Forget about juggling filters, ring lights, or perfect timing - this AI tool creates images that are ready to impress right from the start.
What’s more, it excels at simulating outdoor lighting and capturing natural expressions, a major plus when you consider that 90% of swipes are based solely on profile pictures [22]. Trained on millions of successful dating images, the AI understands which lighting setups work best to make your profile stand out [23].
Easy to Use
Getting started with Dating Photo AI couldn’t be simpler. Just upload 6–15 photos, and the AI takes care of the rest, adjusting the lighting to perfection [19] [20]. For even better results, snap some fresh selfies in natural light, experimenting with angles and genuine expressions. This straightforward process saves you from dealing with complex setups or pricey photography gear, so you can focus on being yourself.
Keeping It Real
One of the best things about Dating Photo AI is that it enhances your photos without altering your true appearance [21]. Using cutting-edge models, it balances improvements with authenticity, delivering photo-realistic results [23]. This ensures that when you meet someone in real life, your profile pictures will match the person they see.
With flexible plans available, Dating Photo AI makes it easy to experiment with professional-quality lighting effects. Combine it with your existing strategies to ensure every photo reflects the best version of you while staying true to who you are.
Natural vs Artificial Lighting Comparison
When deciding between natural and artificial lighting for your dating photos, three main factors come into play: cost, ease of use, and photo quality. Both options have their strengths, and the choice you make can significantly impact the final look of your profile pictures.
| Factor | Natural Light | Artificial Light |
|---|---|---|
| Cost | Free | $200–$400+ for quality equipment |
| Ease of Use | Beginner-friendly | Requires some technical knowledge |
| Photo Quality | Authentic, flattering skin tones | Consistent lighting with precise control |
| Availability | Weather and time dependent | Available 24/7 |
| Setup Time | Minimal | Requires equipment setup |
The table above highlights the key differences, but let’s dive deeper into how these factors affect your photos.
Natural light is the go-to choice for beginners. It’s free, easy to use, and doesn’t require any technical expertise. On clear days, natural light offers a neutral color temperature of about 5,500K, while the "golden hour" - just after sunrise or before sunset - provides a warm, flattering glow of 2,000–3,000K [25].
"A beginning photographer who doesn't understand flash will have an easier time getting good results with natural light."
- Alex Coleman, Commercial and Travel Photographer [27]
Photographer Carolyn Cho adds:
"No artificial light can replicate the beauty, color tones, temperature, and quality of beautiful, natural light in photography."
- Carolyn Cho [26]
While natural light is easy and accessible, artificial lighting brings precision and flexibility. A basic setup might cost under $200, but professional-grade equipment can exceed $400 [24]. Beyond the upfront cost, mastering artificial lighting involves learning how to diffuse light and manage shadows [25]. This setup, however, provides consistent results regardless of weather or time. Continuous lighting, for example, lets you preview how light interacts with your features before snapping the photo, giving you more control [25].
Natural light is ideal for achieving flattering, authentic skin tones, but artificial lighting excels at creating specific moods and allows indoor shooting without relying on the weather. Though it demands more effort and investment, artificial lighting can unlock creative possibilities once you’ve mastered the basics.
For beginners, natural light offers the simplest path to great results. As you gain experience, experimenting with artificial lighting can elevate your photos to the next level. Whether you stick with natural light or explore artificial setups, understanding these differences will help you create dating photos that truly showcase your best self.
Conclusion
Using the right lighting techniques - like taking advantage of golden hour, steering clear of harsh midday glare, incorporating ring lights, and playing with angles - can completely change the way your dating photos look. Lighting isn’t just about brightening up a shot; it’s about creating images that turn heads and highlight your best features. As the British Academy of Photography puts it:
"Photography is all about capturing light. Without light, there would be no photography. Light is the essence of photography and it plays a crucial role in creating all styles of images" [28]
Golden hour’s soft, warm tones can make your photos glow, while a ring light provides dependable, even lighting indoors. And don’t underestimate the power of experimenting with angles - small tweaks in light placement can make a big difference in how your features are illuminated.
Photos with good lighting naturally grab more attention than those with poor lighting. Whether you lean toward natural light for its warmth or artificial lighting for its precision, getting the lighting right is essential for creating dating photos that stand out.
If manual techniques feel overwhelming, Dating Photo AI offers a hassle-free solution. This tool uses advanced technology to enhance your images automatically, delivering polished photos that reflect your personality and help you shine on dating platforms. Just upload your pictures, and let the AI handle the rest.
Lighting isn’t just an afterthought - it’s the secret ingredient to creating photos that genuinely make an impact.
FAQs
What is the 'golden hour' and why is it perfect for dating profile photos?
The golden hour is that magical period shortly after sunrise or just before sunset when the sunlight is gentle, warm, and diffused. This type of lighting creates a soft, flattering glow, minimizes harsh shadows, and adds a natural warmth to photos - making it perfect for dating profile pictures.
At this time of day, the light naturally enhances skin tones and brings a sense of depth to your images. It helps you appear at your best while keeping your photos looking natural and genuine.
What’s the best way to use a ring light for great indoor dating photos?
To make the most of a ring light for your indoor dating photos, place it directly in front of your face to achieve smooth, shadow-free lighting. Adjust the brightness and set the color temperature to mimic natural daylight for a flattering effect. If you wear glasses, tilt the light slightly to avoid distracting reflections. Ensure your camera is positioned in the center of the ring for balanced lighting across your features. Keep a moderate distance from the light to avoid overexposure while still highlighting your face. With these straightforward tips, you can take polished photos that let your personality shine through.
How can I use different lighting angles to make my dating profile photos more flattering?
To take more flattering dating profile photos, focus on experimenting with lighting angles to find what suits you best. A good starting point is positioning a light source at a 45-degree angle to your face. This setup enhances your features while adding depth and dimension. You can also adjust the height of the light to minimize harsh shadows and create a softer, more natural look.
For an extra polished touch, consider using multiple light sources or a softbox to diffuse the light. This helps eliminate harshness and gives your photos a more balanced, even appearance. Don’t be afraid to tweak the distance and direction of the light to see how it changes the mood and highlights in your shots. These small tweaks can make a noticeable difference, giving your photos a professional edge that stands out.